Propagation
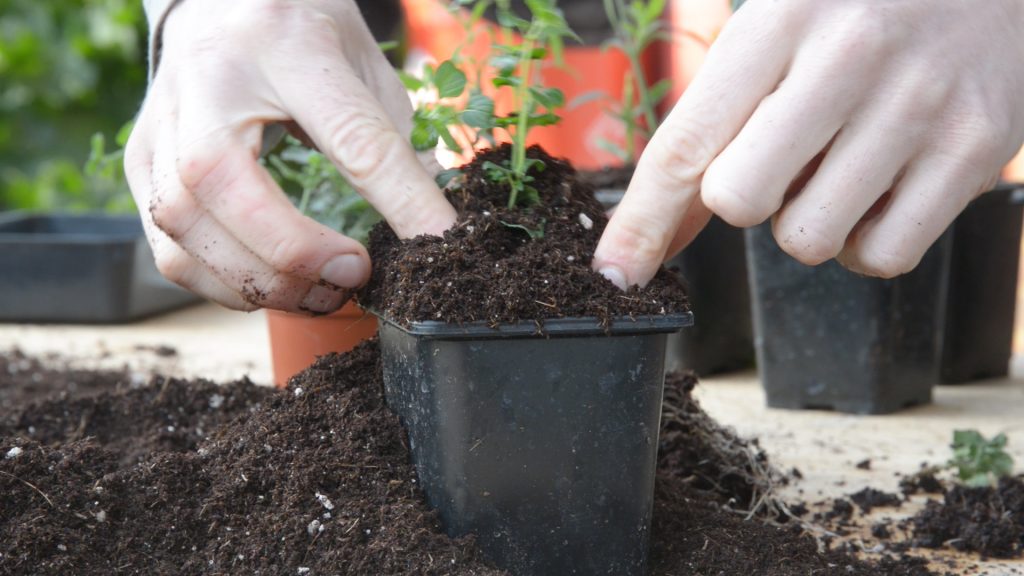
How to take cuttings: Build a dense, naturalistic garden for less
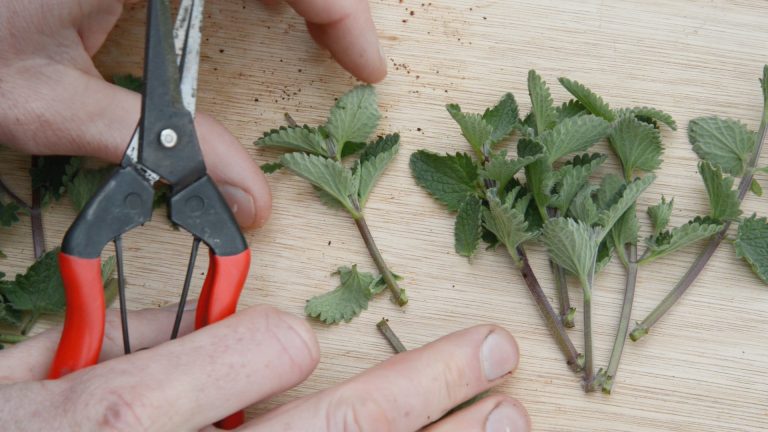
Growing plants from cuttings is easier than you might think, and it’ll save you a whole load of cash. Learn how to do it in this video…

Although a huge range of plants can be grown from cuttings, not all plants are suitable.
And this might be hard to hear… but experimentation is part of the learning process here. If it’s any consolation, I’ve taken a fair few cuttings that haven’t rooted, but we live and learn 
When that happens, we can always try taking the cuttings again at a different time of the year. Or we can try a different method of propagation, like seed sowing, or division.
With that said, I have some guidance on which plants to grow from cuttings:
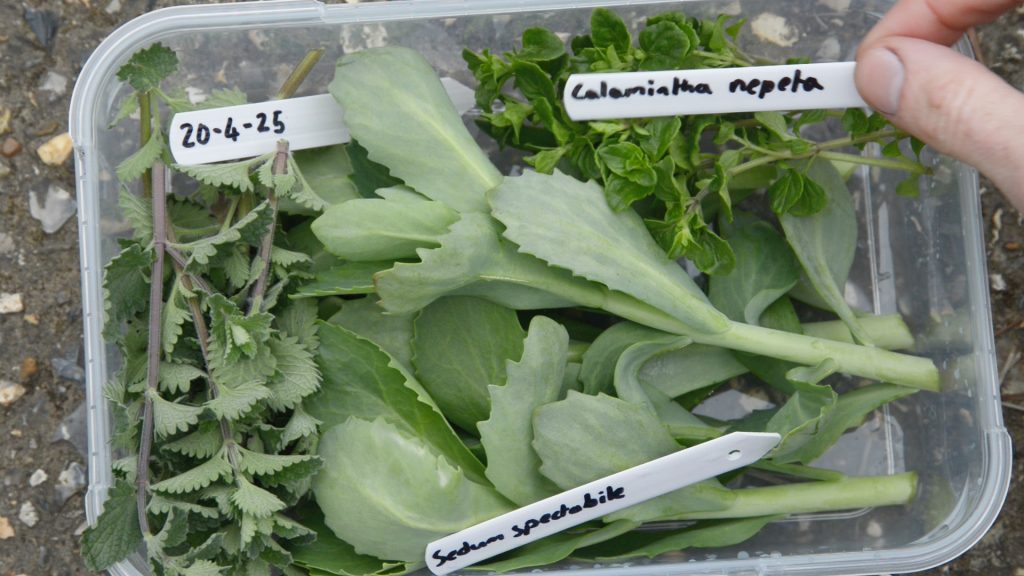
Some plants that I’ve grown from cuttings recently include Aster x frikartii ‘Mönch’, Calamintha nepeta, Lamium orvala, Lythrum salicaria, Nepeta govaniana, Perovskia ‘Blue Spire’, Verbena bonariensis, Glandularia corymbosa.
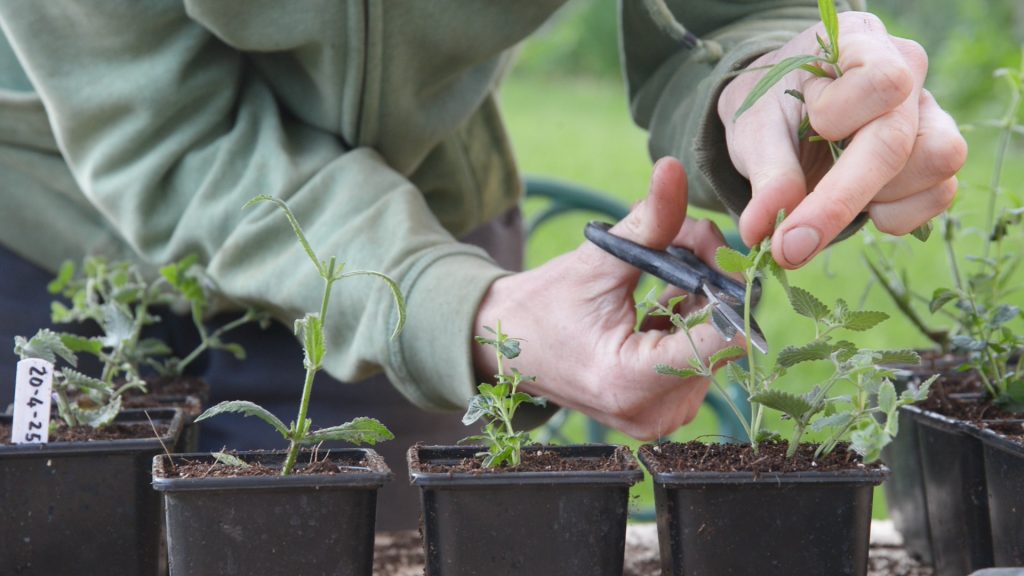
This really is one of the most important skills you can learn as a gardener. I know it can feel like a lot to get your head around if you haven’t taken cuttings before, but it’s easier than you might think.
I’d love it if this video encourages you to give cuttings a go, because I know how much difference this could make to your garden.
So please do let me know if you’re going to have a go. I’d also love to hear which cuttings you’ve had success with already
Happy propagating.
Joe

Growing plants from cuttings is easier than you might think, and it’ll save you a whole load of cash. Learn how to do it in this video…
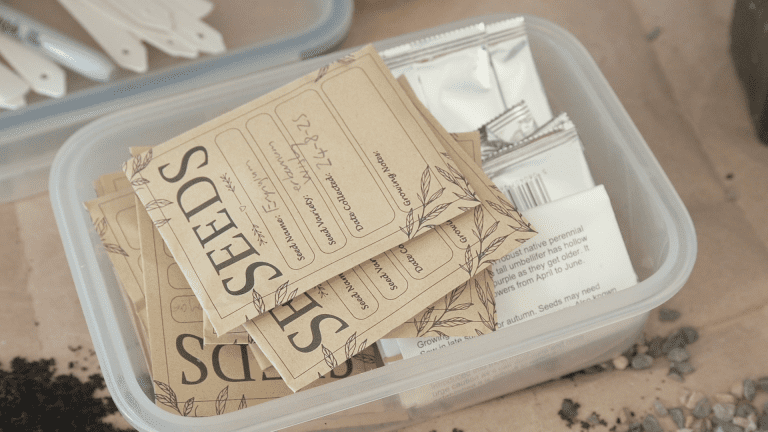
Sowing seed is a great way to save a load of money and build floral diversity in your garden…
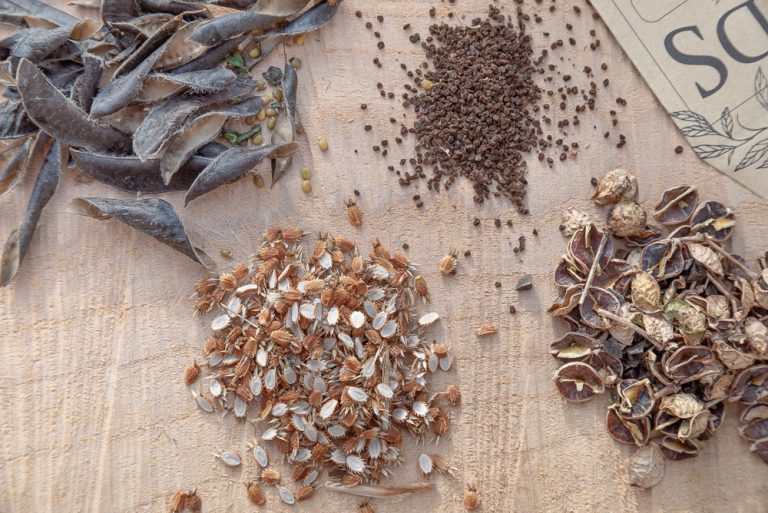
Saving seed is one of the best ways to increase planting density in your garden for free. Perfect if you want to help nature.
This Post Has 2 Comments
Brilliant vid Joe, – direct, & to the point, informative and funny – your a natural with the camera and microphone, Thanks much!
Thank you for the great feedback Martin. I really appreciate it!
I hope your garden is growing along well. Lots of yellow rattle seedlings here which I’m really excited about!
All the best,
Joe